How to Customize and Personalize Invitation Templates from Invitation.Center Using Microsoft Paint
Step-by-step guide to customizing and personalizing invitation templates from Invitation.Center using new Windows 11 Microsoft Paint

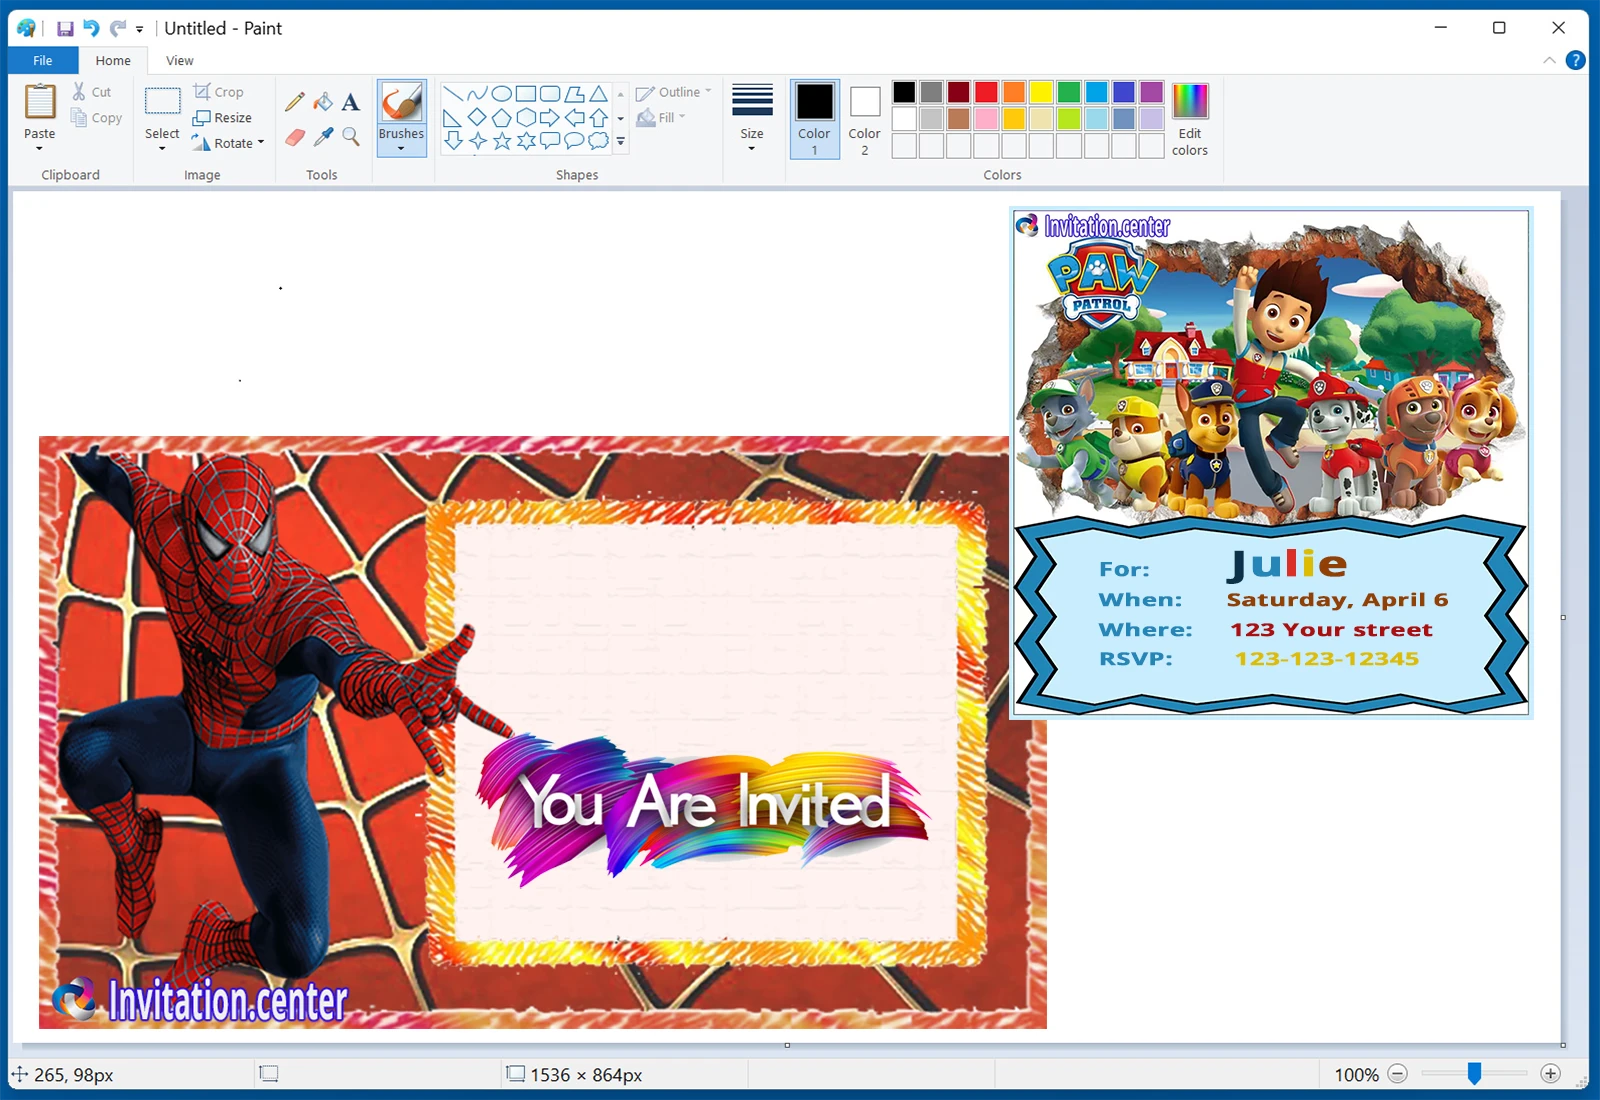
Here’s a step-by-step guide to customizing and personalizing invitation templates from Invitation.Center using Microsoft Paint:
Download the Template:
- Visit Invitation.Center and choose a template you like. Download the template to your computer.
Open the Template in Paint:
- Open Microsoft Paint. Click on “File” > “Open” and select the downloaded template file.
Add Text:
- Use the “Text” tool (represented by an “A” icon). Click where you want to add text on the invitation. Enter your personalized text, such as the event name, date, time, and location. Customize the font, size, and color using the options in the toolbar.
Insert Images:
- To add images or graphics, click “Paste” > “Paste from” and select an image file from your computer. Position and resize the image as needed.
Draw Decorations:
- Use the brushes and shapes available in Paint to add extra decorations or artistic elements to your invitation.
Save Your Customized Invitation:
- Once you’re happy with your design, save the customized invitation by clicking “File” > “Save As” and choosing the desired file format (e.g., PNG, JPEG).
Tips for a Professional Look
- Alignment and Spacing: Ensure your text and images are properly aligned and spaced for a clean look.
- Color Scheme: Use colors that complement the template’s design to maintain a cohesive look.
- Consistency: Maintain a consistent font style and size for a polished appearance.
By following these steps, you can create a unique and personalized invitation using Microsoft Paint, making your event special and memorable. Happy designing!

The Nostalgic Evolution of Microsoft Paint: From Humble Beginnings to Cult Classic
A Brief History of Microsoft Paint
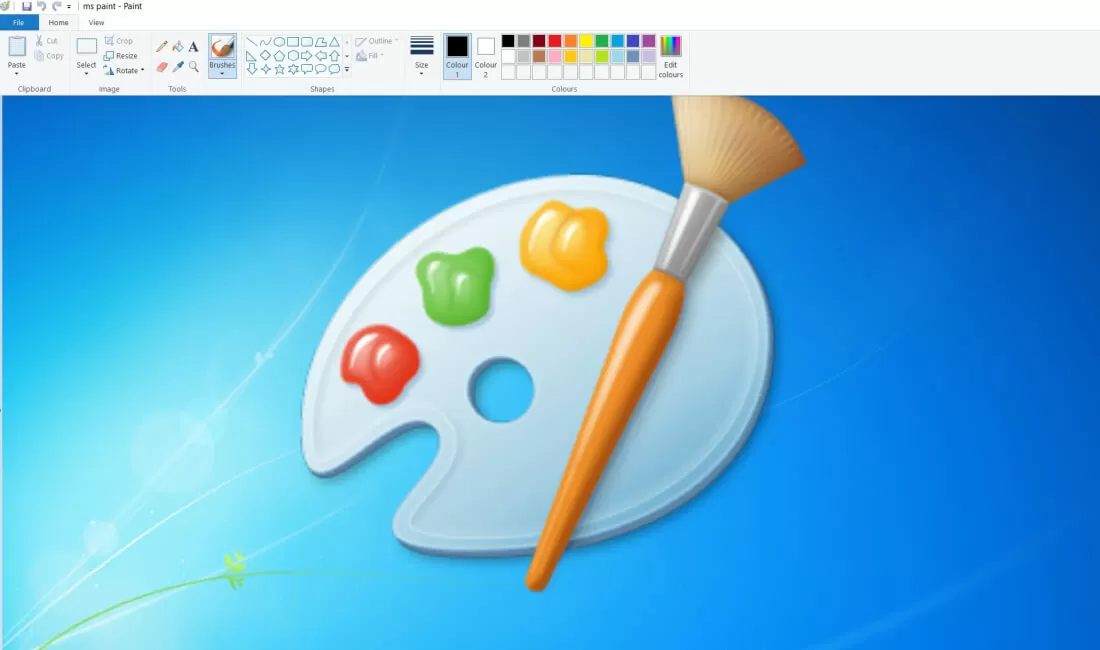
Microsoft Paint, often referred to simply as “Paint,” is a basic graphics painting program that has been included with all versions of Microsoft Windows. Introduced in November 1985 with the first version of Windows, Paint has undergone several transformations, yet it has retained its core simplicity, making it a beloved tool for generations.
The Early Days
When Microsoft Paint debuted as part of Windows 1.0, it was a rudimentary application primarily designed to demonstrate the capabilities of the new graphical user interface. Users could create simple monochrome drawings using basic tools such as brushes, shapes, and a limited color palette. Despite its simplicity, Paint quickly became a staple for Windows users, particularly children and those new to computers.
Iconic Features and User Appeal
Over the years, Paint evolved, introducing features like color selection, more advanced brushes, and the ability to save images in different formats. Its straightforward interface and ease of use made it accessible to users of all ages and skill levels. Paint’s charm lies in its minimalistic design, offering just enough functionality to create or edit images without overwhelming the user.
The Cultural Impact of Microsoft Paint
Despite being overshadowed by more advanced graphic design software, Paint has maintained a cult following. It became a platform for pixel art enthusiasts and a nostalgic tool for those who grew up with early versions of Windows. Memes and online communities celebrating Paint’s simplicity and charm have flourished, keeping the program relevant even as technology advanced.
Modern Iterations and Controversies
In 2017, Microsoft announced that Paint would be deprecated and removed from future versions of Windows 10, prompting an outpouring of support and nostalgia from fans. This response led Microsoft to retain Paint as an optional feature and introduce Paint 3D, a modernized version with advanced features, while keeping the classic Paint available for download.
Microsoft Paint may seem like a relic in the age of sophisticated graphic design tools, but its enduring legacy is a testament to its unique place in the history of computing. Its simplicity, accessibility, and nostalgic value ensure that it remains an iconic part of the Windows experience. Whether you’re a seasoned artist or someone looking to create a quick doodle, Paint continues to offer a charming, straightforward way to express creativity.

How to Use Microsoft Paint: A Simple Guide
Microsoft Paint is a basic yet versatile graphics editing program. Here’s a step-by-step guide to get you started:
- Open Paint:
- On Windows, search for “Paint” in the Start menu and click to open.
- Explore the Interface:
- Toolbar: Contains tools like brushes, shapes, and text.
- Canvas: The main area where you draw and edit images.
- Drawing and Editing:
- Brushes: Select from various brush types to draw freehand.
- Shapes: Click on shapes like rectangles, circles, and lines to insert them.
- Fill: Use the fill tool to add color to shapes or backgrounds.
- Eraser: Remove parts of your drawing with the eraser tool.
- Adding Text:
- Click the “Text” tool (represented by an “A”) and click on the canvas to type.
- Saving Your Work:
- Go to “File” > “Save As” to choose a file format (e.g., PNG, JPEG).
- Advanced Features:
- Resize: Adjust the size of your image by clicking “Resize” in the Home tab.
- Select: Use the selection tool to move, cut, or copy parts of your image.
Tips and Tricks
- Undo/Redo: Quickly correct mistakes using the undo (Ctrl+Z) and redo (Ctrl+Y) buttons.
- Zoom: Use the zoom tool or the slider at the bottom right to get a closer look at details.
- Layers: While Paint doesn’t support layers like advanced programs, you can work around this by saving stages of your work as separate files and combining them later.
Microsoft Paint is a great tool for simple image creation and editing. Whether you’re a beginner or just need to make quick edits, its intuitive interface makes it accessible to everyone. Explore its features, practice, and enjoy the creative process!
Personalizing Templates with Microsoft Paint
How use Microsoft Paint to personalize invitation templates.
Open Your Template:
- Start Paint and open your birthday invitation template by clicking “File” > “Open” and selecting the template file.
Add Custom Text:
- Use the “Text” tool (represented by an “A” icon) to click on the template where you want to add text. Customize the font, size, and color using the options in the toolbar.
Insert Images:
- If you want to add images or graphics, click “Paste” > “Paste from” and select the image file you want to insert. Resize and position the image as needed.
Draw Decorations:
- Use the various brush tools and shapes available in Paint to add personalized drawings or decorations to your template.
Save Your Personalized Invitation:
- Once you’re satisfied with your design, save the personalized invitation by clicking “File” > “Save As” and choosing the desired file format (e.g., PNG, JPEG).
Tips for Best Results
- Precision: Use the zoom feature for detailed work to ensure precision in your edits.
- Undo/Redo: Utilize the undo (Ctrl+Z) and redo (Ctrl+Y) functions to correct mistakes easily.
- Layering: Since Paint doesn’t support layers, plan your edits carefully. Save different stages of your work as separate files to avoid losing progress.
By following these steps, you can create customized and attractive birthday invitations using Microsoft Paint. Happy designing!


